Mini Heart Cake with Vanilla Sponge
Highlighted under: Oven Ideas
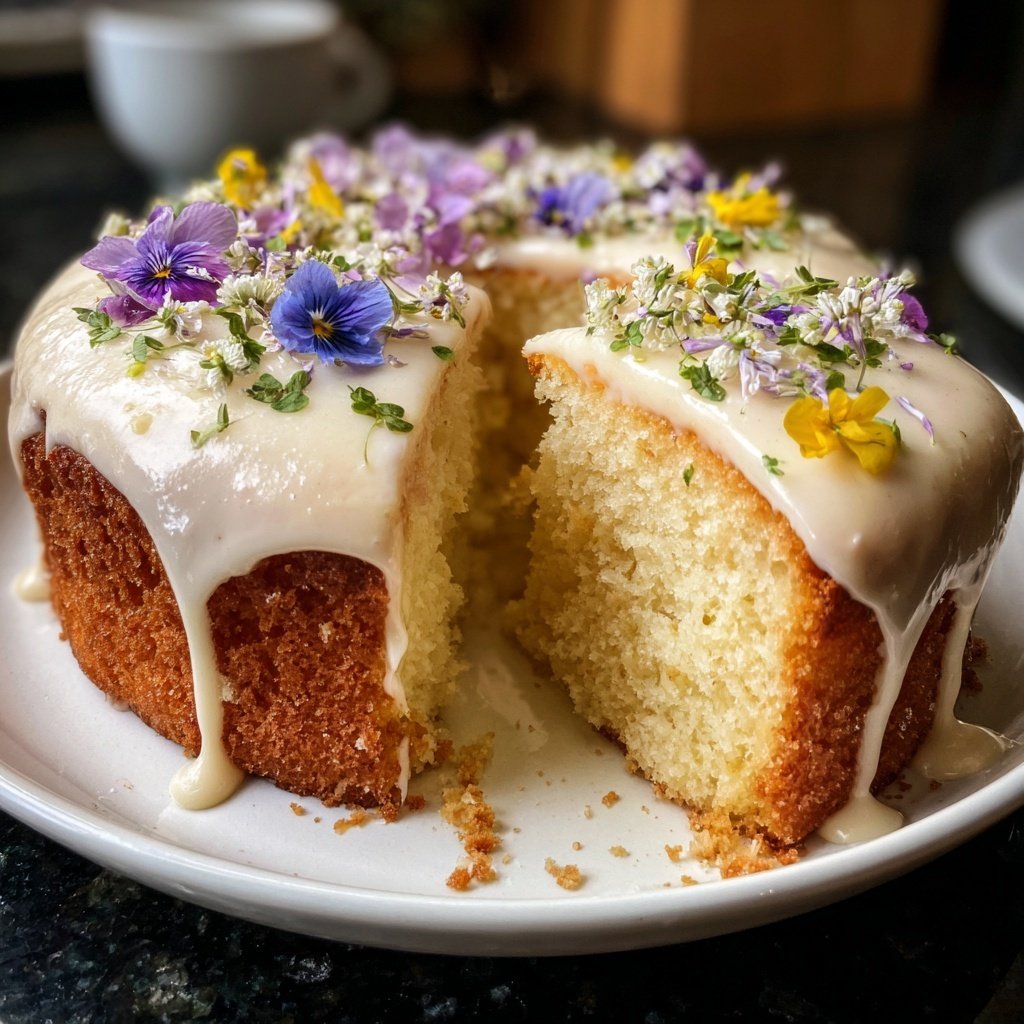
I adore making these Mini Heart Cakes because they are not only cute but also a delicious treat that can brighten anyone's day! Each bite feels like a celebration, and the vanilla sponge layered with cream and fresh fruit adds a delightful touch. I love how this recipe allows for creativity in decoration, making them perfect for romantic anniversaries or sweet gestures. With just a few ingredients, these heart-shaped cakes are surprisingly simple to whip up, and they never fail to impress family and friends alike.
When I first attempted to create these Mini Heart Cakes, I was amazed at how simple yet impactful they turned out to be. I used a light vanilla sponge recipe, which I found to be much fluffier than many others I've tried. This ensures that the cakes are not too dense, allowing the creamy filling and fresh fruit to shine through.
I discovered that using a heart-shaped cake cutter not only makes them visually appealing but also turns the process into a fun activity, perfect for kids and adults alike. The addition of seasonal fruits not only enhances the flavor but also adds a pops of color, creating a showstopper dessert.
Why You Will Love This Recipe
- Adorable heart shape perfect for special occasions
- Light and fluffy vanilla sponge pairs wonderfully with fresh cream
- Endless possibilities for creative toppings and fillings
Mastering the Vanilla Sponge
The vanilla sponge is the star of this Mini Heart Cake, providing a light and airy base. It's crucial to whip the butter and sugar together until the mixture is fluffy and pale, which can take about 2-3 minutes with an electric mixer. This process incorporates air into the batter, resulting in a sponge that rises beautifully during baking. Also, make sure your butter is at room temperature for optimal blending; cold butter can lead to a dense cake.
Incorporating the dry ingredients into the wet mixture gradually helps maintain that light texture. Use a gentle folding technique rather than vigorous stirring to avoid deflating the batter. You can also sift the flour and baking powder together to mix them more evenly, ensuring a consistent rise. Remember to scrape down the sides of your bowl occasionally to guarantee everything is well-combined, especially after adding the milk.
Whipping the Cream to Perfection
Whipping the heavy cream is a critical step for achieving that fluffy and indulgent filling. Chill your mixing bowl and beaters in the freezer for about 10-15 minutes before starting; this helps the cream whip faster and reach stiff peaks easily. Keep an eye on the cream as you whip it; stop when it is glossy and forms peaks that hold their shape. Overwhipping can lead to a grainy texture or, worse, butter, so aim for a smooth finish.
For added flavor, consider infusing the cream with a touch of vanilla extract or a sprinkle of citrus zest. This twist can elevate your cake's flavor profile significantly. Mixing in powdered sugar not only sweetens the cream but also stabilizes it, helping maintain its shape when layered between the cake. If you need a dairy-free option, coconut cream works beautifully as a substitute; just ensure it's well-chilled before whipping.
Ingredients
Ingredients
For the Vanilla Sponge:
- 1 cup all-purpose flour
- 1/2 cup sugar
- 1/2 cup unsalted butter, softened
- 2 large eggs
- 1 tsp vanilla extract
- 1 tsp baking powder
- 1/4 cup milk
- Pinch of salt
For the Filling and Topping:
- 1 cup heavy whipping cream
- 1/4 cup powdered sugar
- Fresh strawberries, sliced
- Fresh blueberries
Instructions
Instructions
Prepare the Sponge
Preheat your oven to 350°F (175°C). Grease and flour a heart-shaped cake pan. In a mixing bowl, combine the softened butter and sugar, beating until fluffy. Add the eggs one at a time, mixing well. Stir in the vanilla extract. In another bowl, mix flour, baking powder, and salt. Gradually add this to the wet ingredients, alternating with milk, until smooth.
Bake the Cake
Pour the batter into the prepared pan and smooth the top. Bake for 20-25 minutes, or until a toothpick comes out clean. Allow the sponge to cool in the pan for 10 minutes before transferring it to a wire rack to cool completely.
Prepare the Cream
In a separate bowl, whip the heavy cream until it starts to thicken. Add powdered sugar gradually and continue to whip until stiff peaks form.
Assemble the Cakes
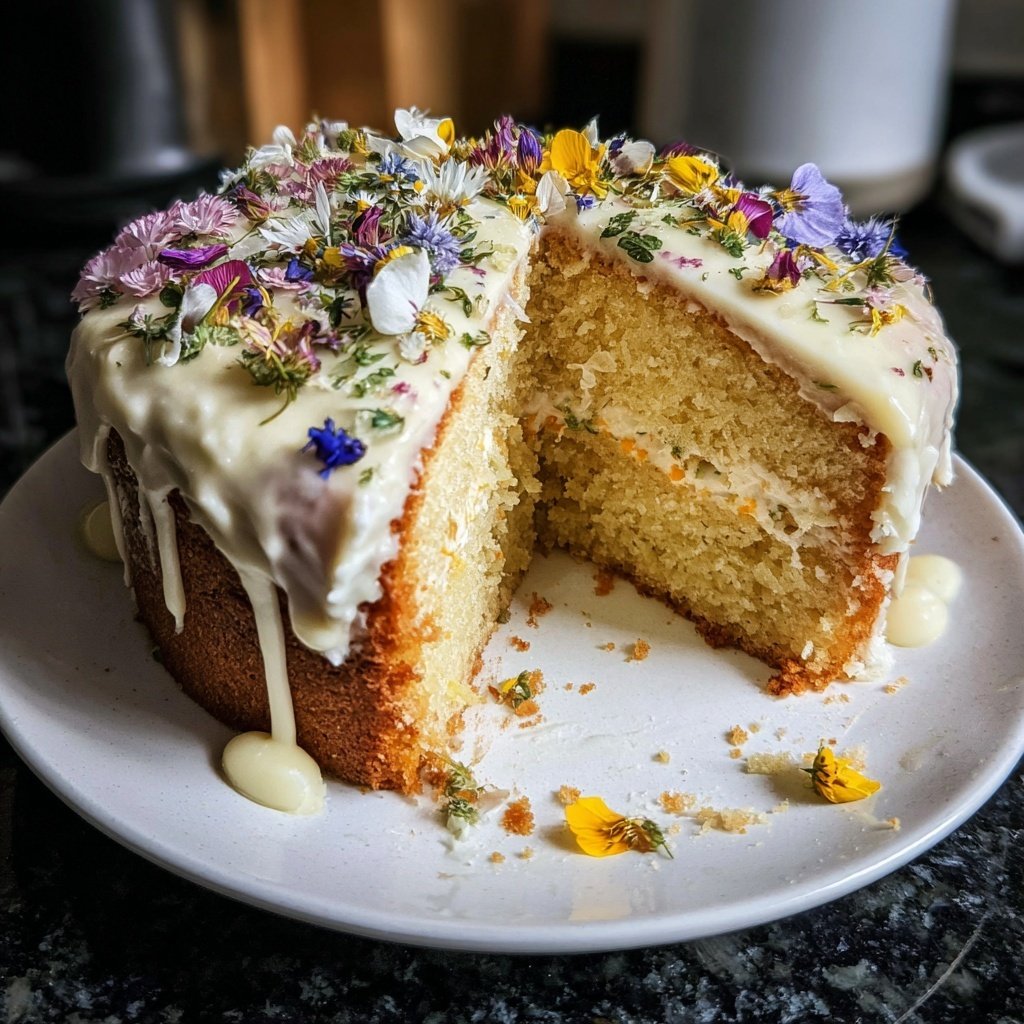
Once the sponge is completely cool, slice it in half horizontally. Spread a layer of whipped cream on the bottom half and add fresh fruit. Place the top half back on and cover the entire cake with more whipped cream. Decorate with additional fruit on top.
Pro Tips
- For an extra flavor boost, add a splash of almond extract to the cream. You can also experiment with different fillings such as lemon curd or chocolate ganache for a delightful twist.
Creative Decoration Ideas
Feel free to personalize the decoration of your Mini Heart Cakes with a variety of toppings! Besides fresh fruits like strawberries and blueberries, consider adding edible flowers, chocolate shavings, or a light dusting of cocoa powder for a gourmet touch. Another delightful idea is to drizzle a simple glaze made of melted chocolate over the top – it not only enhances the presentation but adds a rich flavor that contrasts beautifully with the light sponge.
For a more playful version, use colored sprinkles or edible glitter. You can even experiment with flavors by incorporating different types of fruit purees into the whipped cream, creating a rainbow of flavors and textures. Remember, appealing presentation can turn an already sweet treat into an unforgettable centerpiece for any celebration!
Storage and Make-Ahead Tips
Mini Heart Cakes are perfect for preparing in advance! If you're planning for a special occasion, you can bake the vanilla sponge a day ahead. Wrap the cooled layers tightly in plastic wrap and store them at room temperature. Just remember to assemble the cakes on the day of serving to keep the whipped cream fresh and airy. Once assembled, they can be stored in the refrigerator for about 2-3 days, although they are best enjoyed within the first day to maintain flavor and texture.
If you're looking to freeze them, consider freezing the sponge layers wrapped well in plastic and then foil. They can be frozen for up to three months. Just thaw them in the fridge overnight before you decorate. As for the whipped cream, avoid freezing it; instead, whip it fresh just before you're ready to assemble, ensuring a light, fluffy texture that’s sure to impress!
Questions About Recipes
→ Can I make this cake in advance?
Yes, you can prepare the sponge a day ahead and assemble it the day of serving to keep it fresh.
→ What variations can I try?
You can swap the vanilla for lemon zest or try adding cocoa powder for a chocolate version.
→ Can I freeze the cakes?
It's best to freeze the sponge separately without the cream and fruit. Wrap well to prevent freezer burn.
→ What are some suitable toppings?
Fresh fruit, chocolate shavings, or a drizzle of caramel sauce are all excellent options!
Mini Heart Cake with Vanilla Sponge
What You'll Need
For the Vanilla Sponge:
- 1 cup all-purpose flour
- 1/2 cup sugar
- 1/2 cup unsalted butter, softened
- 2 large eggs
- 1 tsp vanilla extract
- 1 tsp baking powder
- 1/4 cup milk
- Pinch of salt
For the Filling and Topping:
- 1 cup heavy whipping cream
- 1/4 cup powdered sugar
- Fresh strawberries, sliced
- Fresh blueberries
How-To Steps
Preheat your oven to 350°F (175°C). Grease and flour a heart-shaped cake pan. In a mixing bowl, combine the softened butter and sugar, beating until fluffy. Add the eggs one at a time, mixing well. Stir in the vanilla extract. In another bowl, mix flour, baking powder, and salt. Gradually add this to the wet ingredients, alternating with milk, until smooth.
Pour the batter into the prepared pan and smooth the top. Bake for 20-25 minutes, or until a toothpick comes out clean. Allow the sponge to cool in the pan for 10 minutes before transferring it to a wire rack to cool completely.
In a separate bowl, whip the heavy cream until it starts to thicken. Add powdered sugar gradually and continue to whip until stiff peaks form.
Once the sponge is completely cool, slice it in half horizontally. Spread a layer of whipped cream on the bottom half and add fresh fruit. Place the top half back on and cover the entire cake with more whipped cream. Decorate with additional fruit on top.
Extra Tips
- For an extra flavor boost, add a splash of almond extract to the cream. You can also experiment with different fillings such as lemon curd or chocolate ganache for a delightful twist.
Nutritional Breakdown (Per Serving)
- Calories: 290 kcal
- Total Fat: 18g
- Saturated Fat: 10g
- Cholesterol: 100mg
- Sodium: 120mg
- Total Carbohydrates: 30g
- Dietary Fiber: 1g
- Sugars: 15g
- Protein: 3g