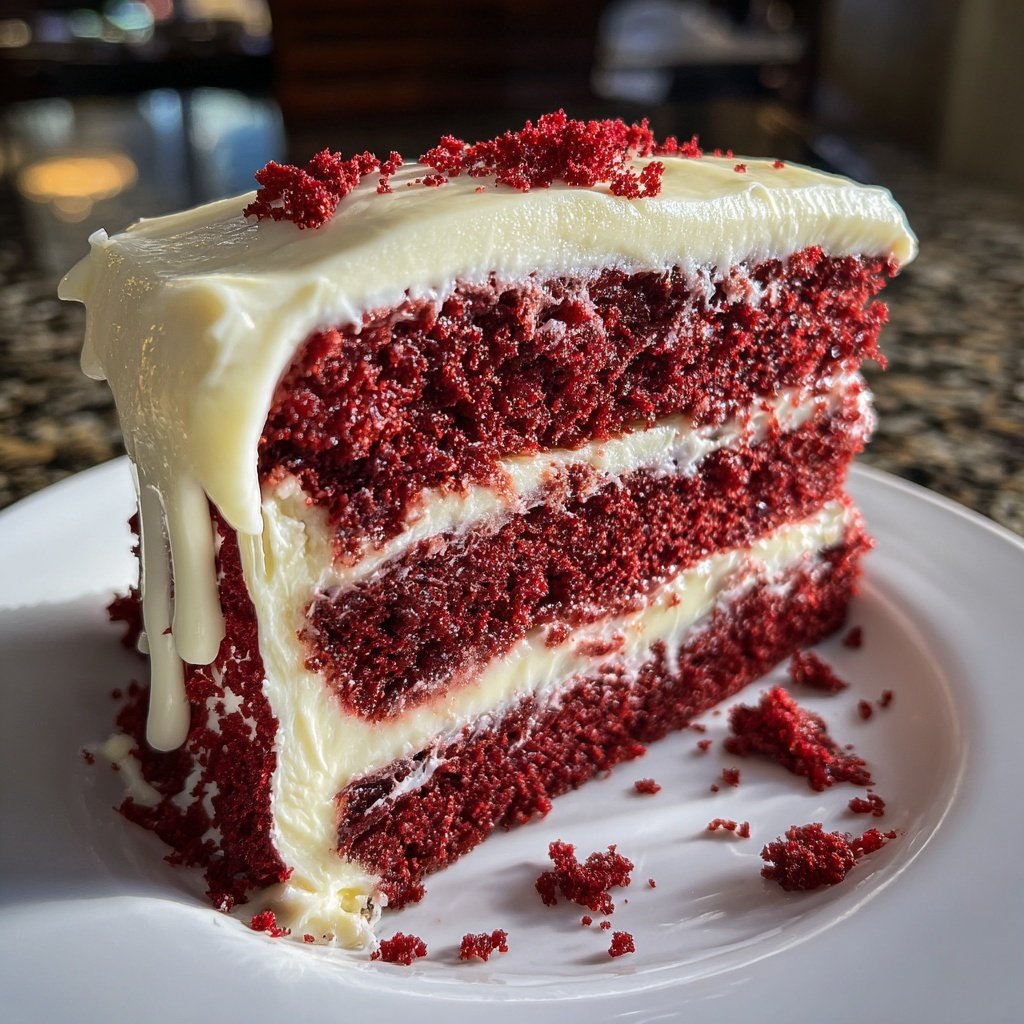
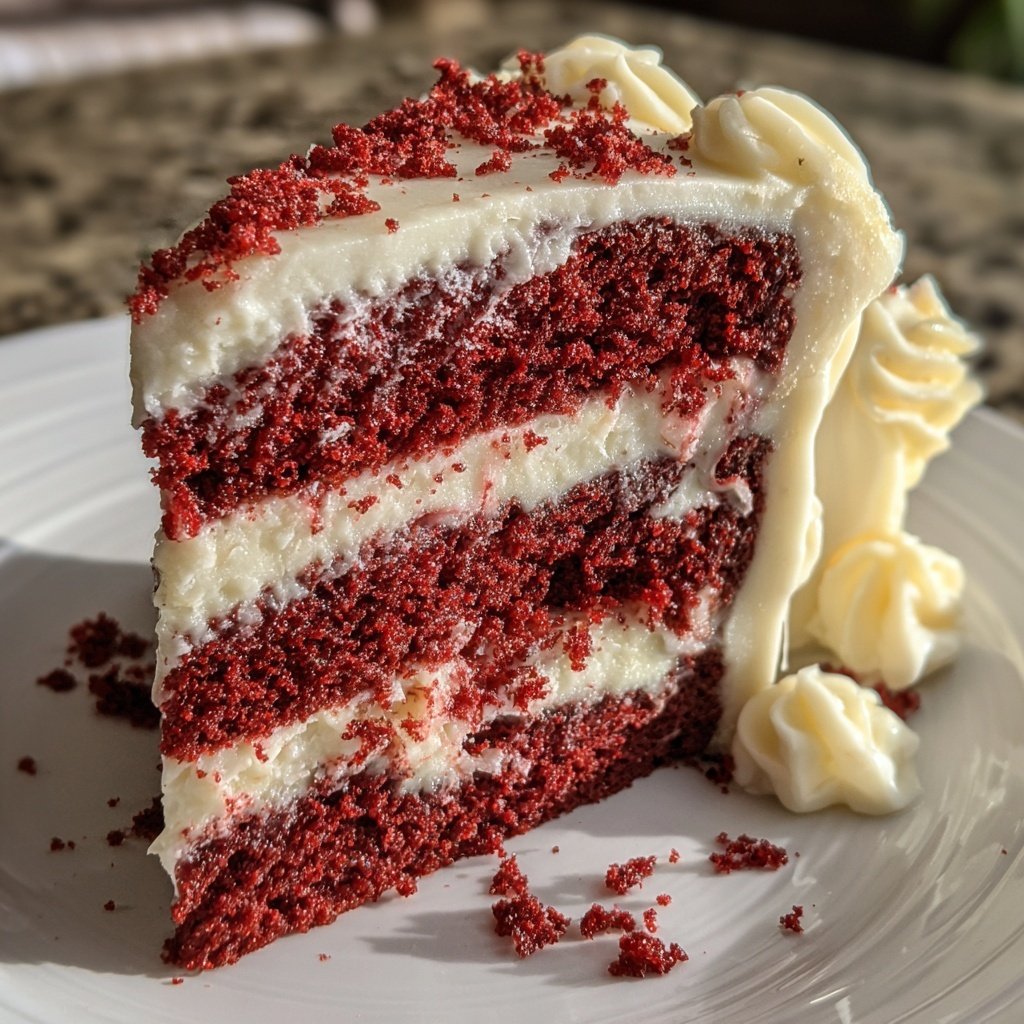
Red Velvet Cake for Valentine’s Day
Highlighted under: Festive Ideas
As Valentine's Day approaches, I find myself reminiscing about the first time I baked a red velvet cake. The vibrant red color and the rich, velvety texture were captivating, but it was the deliciously tangy cream cheese frosting that truly won my heart. I was thrilled with how well the flavors complemented each other, making it perfect for the love-filled occasion. Armed with this recipe, I can’t wait to recreate that same magic and share it with my loved ones this year.
On my journey to perfecting my baking skills, I stumbled upon red velvet cake, which has since become a staple for any special occasion. I learned that the secret to its vibrant color lies in the cocoa powder and vinegar combination. It’s fascinating how such simple ingredients can create a show-stopping dessert that impresses everyone around.
This cake is not just about looks; it's incredibly moist and pairs perfectly with the luxurious cream cheese frosting. My tip? Make sure to let your ingredients come to room temperature to achieve that dreamy consistency in both the cake and the frosting!
Why You'll Love This Recipe
- The stunning contrast of red cake and white frosting makes it a visual delight
- The combination of cocoa and buttermilk creates a unique flavor profile
- Perfect for sharing with loved ones, making it the ultimate romantic dessert
Understanding the Ingredients
To achieve the characteristic tang and tender crumb of a red velvet cake, the balance of ingredients is key. Buttermilk not only contributes moisture but also reacts with the baking soda to create a light texture. If you don’t have buttermilk on hand, you can easily make your own by mixing one cup of milk with one tablespoon of vinegar or lemon juice. Let it sit for about 5 minutes before using to create a similar acidic effect.
The red food coloring is what truly defines this cake visually, but it's important to use the right kind. Gel food coloring is a great choice as it provides a vibrant hue without altering the cake's wetness. When adding it to the batter, ensure it’s well incorporated to achieve an even color throughout—aim for a deep crimson before baking. Experimenting with different brands can yield varied results, so find what works best for you.
Baking Tips for Success
When baking the cakes, be mindful of your oven temperature; an oven thermometer can help ensure it's accurate, as each oven varies. Watch for the cakes to rise and form a slightly domed top. They are done when a toothpick inserted in the center comes out clean or with only a few moist crumbs attached, which typically takes 25-30 minutes. If the edges begin to darken significantly before the center is set, cover them with foil to prevent burning.
Cooling the cakes properly is crucial to achieving the right texture. Allow them to cool in the pans for about 10 minutes before transferring them to a wire rack. This prevents the cakes from becoming soggy as they release steam. Once on the rack, let them cool completely before frosting to avoid melting the cream cheese frosting, which should be soft yet firm—if it’s too runny, chill it for a few minutes before spreading.
Ingredients
Gather the following ingredients to create this delightful red velvet cake:
Cake Ingredients
- 2 cups all-purpose flour
- 1 ½ cups granulated sugar
- 1 teaspoon baking soda
- 1 teaspoon salt
- 1 teaspoon cocoa powder
- 1 cup vegetable oil
- 1 cup buttermilk
- 2 large eggs
- 2 tablespoons red food coloring
- 1 teaspoon vanilla extract
- 1 teaspoon white vinegar
Frosting Ingredients
- 8 oz cream cheese, softened
- ½ cup unsalted butter, softened
- 4 cups powdered sugar
- 1 teaspoon vanilla extract
Ensure you have everything ready before you start baking!
Instructions
Follow these steps to bake the perfect red velvet cake:
Preheat the Oven
Preheat your oven to 350°F (175°C). Grease and flour two 9-inch round cake pans.
Mix Dry Ingredients
In a large bowl, sift together the flour, sugar, baking soda, salt, and cocoa powder.
Combine Wet Ingredients
In another bowl, whisk together the vegetable oil, buttermilk, eggs, red food coloring, vanilla extract, and vinegar until well combined.
Make the Batter
Gradually add the wet ingredients to the dry ingredients, mixing until just combined. Be careful not to overmix.
Bake the Cakes
Divide the batter evenly between the two prepared pans and bake for 25-30 minutes, or until a toothpick inserted in the center comes out clean.
Cool the Cakes
Allow the cakes to cool in the pans for 10 minutes, then turn them out onto wire racks to cool completely.
Prepare the Frosting
In a mixing bowl, beat the cream cheese and butter together until smooth. Gradually add the powdered sugar and vanilla, mixing until fluffy.
Frost the Cake
Once the cakes are completely cool, place one layer on a serving platter. Spread a layer of frosting on top, then place the second cake layer on top and frost the top and sides.
Serve and Enjoy!
Slice the cake and enjoy it with your loved ones, relishing every delicious bite!
Follow these steps closely for the best results!
Pro Tips
- For an added touch, garnish the frosted cake with grated chocolate or red sprinkles for a festive look.
Storing and Serving
This red velvet cake can be stored in an airtight container at room temperature for up to three days, or in the fridge for about a week. To keep it fresh, you can also wrap individual slices in plastic wrap and place them in the freezer for up to two months. Just let them thaw in the fridge overnight before enjoying to bring back that delightful texture.
When it comes to serving, this cake pairs fantastically with a dollop of fresh whipped cream or a sprinkle of crushed walnuts for added texture and crunch. For a romantic touch, consider garnishing with heart-shaped chocolate shavings or strawberries, making it a perfect centerpiece for your Valentine's Day celebration.
Variations to Try
While the classic red velvet cake is delicious on its own, you can experiment with flavors by adding a teaspoon of almond extract for a slightly nutty note or a pinch of cinnamon for warmth. Another fun variation is to incorporate chocolate chips into the batter for a delightful surprise in every slice, adding a contrasting flavor profile that elevates the overall taste experience.
For those looking to make a healthier version, you can substitute half of the all-purpose flour with whole wheat flour for added nutrition, or use coconut oil in place of vegetable oil. While these substitutions may alter the texture slightly, they can lead to a deliciously unique take on the classic red velvet cake while still honoring its traditional essence.
Questions About Recipes
→ Can I make this cake ahead of time?
Yes, you can bake the cakes in advance and freeze them for up to three months. Just ensure they're tightly wrapped.
→ What can I substitute for buttermilk?
You can make your own buttermilk by mixing one cup of milk with one tablespoon of vinegar or lemon juice.
→ How do I store leftover cake?
Store leftover cake in an airtight container at room temperature for up to three days or refrigerate it for a longer shelf life.
→ Can I make cupcakes instead?
Absolutely! This recipe can also be adapted to make about 24 cupcakes; adjust baking time to around 20-22 minutes.
Red Velvet Cake for Valentine’s Day
What You'll Need
Cake Ingredients
- 2 cups all-purpose flour
- 1 ½ cups granulated sugar
- 1 teaspoon baking soda
- 1 teaspoon salt
- 1 teaspoon cocoa powder
- 1 cup vegetable oil
- 1 cup buttermilk
- 2 large eggs
- 2 tablespoons red food coloring
- 1 teaspoon vanilla extract
- 1 teaspoon white vinegar
Frosting Ingredients
- 8 oz cream cheese, softened
- ½ cup unsalted butter, softened
- 4 cups powdered sugar
- 1 teaspoon vanilla extract
How-To Steps
Preheat your oven to 350°F (175°C). Grease and flour two 9-inch round cake pans.
In a large bowl, sift together the flour, sugar, baking soda, salt, and cocoa powder.
In another bowl, whisk together the vegetable oil, buttermilk, eggs, red food coloring, vanilla extract, and vinegar until well combined.
Gradually add the wet ingredients to the dry ingredients, mixing until just combined. Be careful not to overmix.
Divide the batter evenly between the two prepared pans and bake for 25-30 minutes, or until a toothpick inserted in the center comes out clean.
Allow the cakes to cool in the pans for 10 minutes, then turn them out onto wire racks to cool completely.
In a mixing bowl, beat the cream cheese and butter together until smooth. Gradually add the powdered sugar and vanilla, mixing until fluffy.
Once the cakes are completely cool, place one layer on a serving platter. Spread a layer of frosting on top, then place the second cake layer on top and frost the top and sides.
Slice the cake and enjoy it with your loved ones, relishing every delicious bite!
Extra Tips
- For an added touch, garnish the frosted cake with grated chocolate or red sprinkles for a festive look.
Nutritional Breakdown (Per Serving)
- Calories: 380 kcal
- Total Fat: 26g
- Saturated Fat: 15g
- Cholesterol: 195mg
- Sodium: 85mg
- Total Carbohydrates: 32g
- Dietary Fiber: 3g
- Sugars: 24g
- Protein: 6g